Here is a recap of how it went at Southwest Maker Fest (SWMF) for the 3D print “program” (that’s what SWMF calls the workshop exhibits).
At first it was just going to be Sarah and Embrie and I running a “maker” booth where we had laptops and printers and let people go though the 3D printing process. But then another person contacted Eric about a 3D printing booth and we all thought it might be a good idea to combine forces! That person was in the early stages of what he wanted to do but at the very least he wanted to inspire people by having a variety of prints on hand as well as have some printers going. Sarah and Embrie and I wanted to make it hands on and have people print something they made which we knew was a bit ambitious.
Unfortunately there was a family emergency and our extra help that wanted to do a booth had to bail out. That means we didn’t have any sample prints, extra printers, extra canopy for our extra space, or that 4rd person that could help people thought the process.
Original Idea
Here is the proposal I submitted.
Attendees in this booth will design and print something and see the 3D printing process from design to physical product (as long as they wait a bit for the print to finish!). In this space we will have four laptops and at least six 3D printers. We are targeting prints that take from 10-20 minutes and if all goes well the people waiting for prints can help those doing the designs.
We also have plenty of examples to show to get people excited about the possibilities. And we might just have a few goodies to give away to participants!
A more detailed description is that we will have a project idea that you can design yourself in TinkerCAD. Once you are happy with your design, you will export that as an STL file. Then, you open the STL in a slicer (PrusaSlicer or Cura depending on which printer you are targeting) and turn a design into a set of commands for the printer to execute (this is called a GCODE file). You then sneakernet the GCODE file to the printer and start the printing process.
Idea vs Reality
In the “examples/museum” area the idea was to have examples of different infills and patterns and layer heights as well as just some cool prints. Without the extra help we just couldn’t deliver on that. And I think that would have been a good addition for people curious and looking around but didn’t really want to commit to trying something out or waiting since there was usually a line.
Outside of that I think we delivered everything we said we would and a ton more!
3D Pens
I thought it might be cool to bring some 3D pens that might be fun for a younger crowd or people that didn’t want to dedicate time to making a design or waiting on a print. We already had a couple 3D pens and my 9 year old daughter was really into them. I asked her if she wanted to run that part of the booth and she said yes! She spend a few hours in the days before finding some designs and paper printing “stencils” so that people would have ideas and have something to trace. As we were setting up the 3D Printing area she had extra time and made a pair of glasses for inspiration. People LOVED the pens and that tiny table with 2 working pens was busy the entire time. It was so overwhelming there was no room for Embrie! She said people were frustrated we didn’t have more pens!

Give Aways
We had a few hundred of the “Brick Rings” to give out and probably gave away about 150 of them (they were at the super crowed 3D pen station so people didn’t see them). We also had about 50 “whistle rings“. We waited till the end and just put them on a table that was cleared off and let people take as many as they wanted as long as they took a sanitizing wipe too! It was probably a good idea to wait on those since whenever someone got them they tried them and it could be a bit annoying to have a bunch of kids trying a whistle.
What we did
I WISH I would have taken pictures of the booth setup without a bunch of people in it but there really was no time. Even before we opened people stopped by and we started them on their journey.
The only idea that we could come up with was to make a “5mm tall design that had your name in it that we could print in about 20 minutes”. One person wanted to print a “monopoly hotel” and I showed him how I could search for that and just print it . . . but I took it a step further and imported the design into Tinkercad and added a “B” to the side of the tiny hotel to make it B hotel. We printed it and I think he liked it . . I think . . . right about then a big crowd showed up.
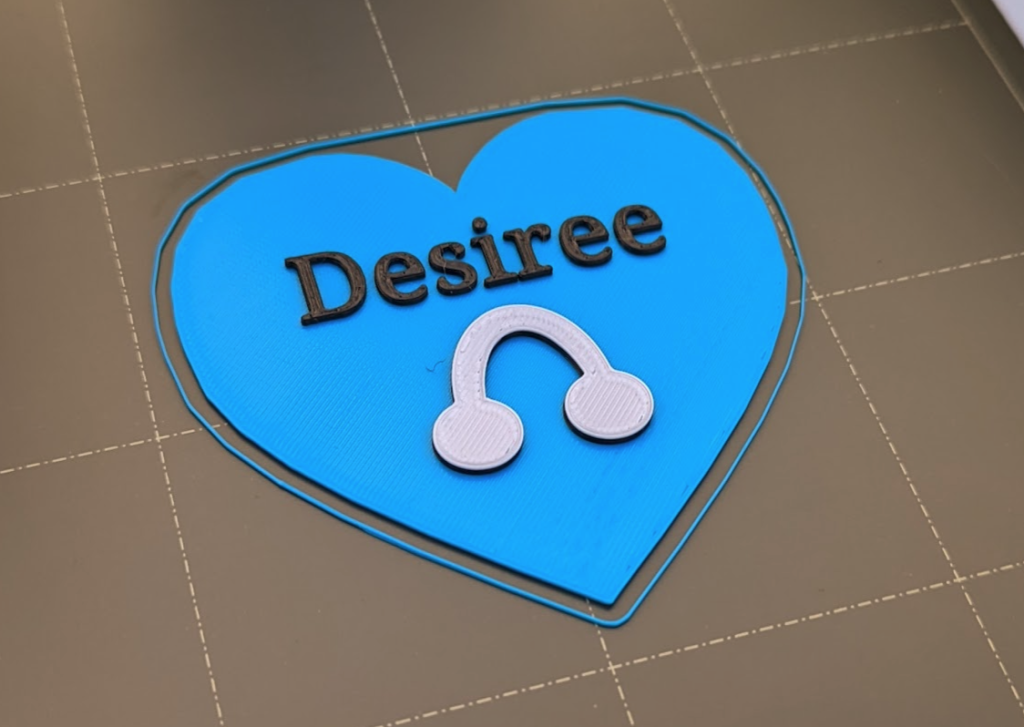
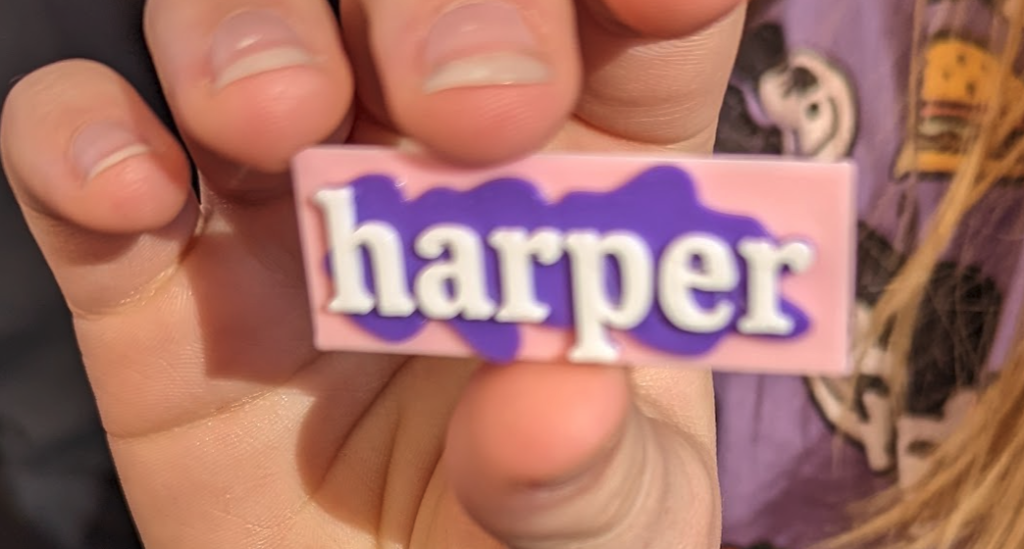
In PrusaSlicer we showed them how to put in a “filament switch” so most of them made 2 color designs (sometimes 3) and they were generally thrilled! Here are a few examples.


The printers
We brought along our 4 Prusa Minis (one that we donated to the school but borrowed) along with 2 Lulzbot Minis that were donated to the school recently plus the Creality CR6. The idea was that I would just have random stuff printing on the Lulzbot machines. That worked out fine on one of them for a few hours but the downside to those old machines was that it was nearly impossible to remove the prints without hurting yourself. And I couldn’t figure out why I couldn’t control one of them to load the filament in the 10 minutes I had time to try. At some point the UPS started beeping and turning off the Lulzbot fixed that. (Hopefully by adding removable beds and a machine running Octoprint those problem will be eliminated and I can turn those those into more friendly and modern machines . . . the quality and reliability seem good!) We didn’t have a slicer setup that would work with the CR6 and it was just taking up table room we needed so pretty quickly we set it aside. It was so much easier to use printers that were all the same and if we ever do this again that will be how we run it.
Tinkercad
We setup a new account in Tinkercad and every computer was already logged into that account. Generally we would give a 1 minute tutorial where I would make a moon shape or a washer shape by combining shapes and “holes”. We told them it was easy and generally people just picked it up and ran with it. Thanks Tinkercad! I was honestly kinda worried I would have to sit with everyone the entire time but generally people figured it out. I would go and clean up the design a bit and make the heights so it would print faster but that generally worked out okay. People were really creative! Moons and hearts and all kinds of designs beyond the “rectangle” I envisioned.
The Numbers
We setup a new account in Tinkercad and every design was saved there. At the end of the day there were 34 designs! My guess is that we printed 30 of them. We only printed on the 4 Prusa Minis (which was REALLY NICE since we could use defaults from the setup of PrusaSlicer to the exporting of the gcode). We had about 20 rolls of different colors of PLA filament.
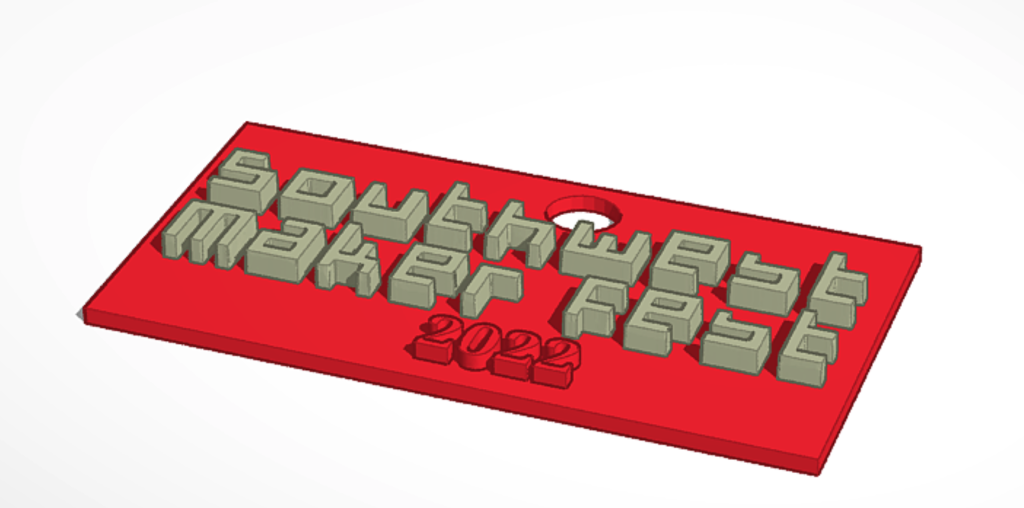
Those number line up with the reality of how busy it was. The event was 6 hours, prints took 20-30 minutes, we had 4 printers and 4 computers. Design time varied from 5 minutes to maybe an hour for the one person that wanted to make an ornament that had “Southwest Maker Fest 2022” on it and I showed her how to take the SWMF logo, cut out the text, import that image to a “jpg to stl” online tool, and then import that into TinkerCAD to clean it up. I do think we could have used ONE more Prusa Mini and there would have been less lines. 4 computers to every 5 printers seems about right for next time.

If prints took about 30 minutes on average, that means we had the capacity for about 48 prints (6 hours, 4 printers, 2 prints per hour) if everything went well and demand was even. In the beginning, people were designing and a few of the printers were not in use. By about 1pm, there was a line for the printers.
Problems to fix for next year
It was TOO BRIGHT to see the computer screens.
Our table arrangement made it TOO CROWDED and we need to spread out more.
People wanted more blue! We had about 20 rolls of different colors but people wanted blue more than anything and we only had this cool teal color. Also, it would have been nice to have duplicates of some of the basic colors like white and black.
We should scale up a bit for next time. 6 computers and 8 printers?
More 3D Pens! People loved them.
Examples! We didn’t have physical examples of the idea on account of JUST MAKING IT UP the day before.
We need better WRITTEN instructions about what to do and the size limits and stuff like that.
We need sponsors! While we didn’t go though a huge number of consumables, we did go though SOME not to mention the wear and tear on our own printers. Plus we did print the giveaways and that was probably a roll of filament all said. If we want to scale up we need a few more printers for sure. I honestly can’t believe they all worked without issue the entire time. I brought all my tools just in case but I wouldn’t have had time to fix anything anyway. I recently had to clean out one of of the print heads because of constant jamming and I had to replace the thermistor on my FIRST Prusa mini (it has more 3D printed parts than the new version) in the days before the event so I thought for sure something would happen but the only issue was that one of the filaments didn’t stick well even when changing the z-offset. We switched it out with different filament and an important lesson was learned. PLUS, we bought our own tables and a few other things too in support of the event.
We need MORE HELP. Sarah and I were going non-stop the entire day and could never sit down for more than about 30 seconds. We even had extra help from someone at Heatsync and even that wasn’t enough. Also the written instructions would have helped our help!
More thumb drives! We had 6 of them but one of them died and generally the line for a printer would be more fair if people could save to the thumb drive. I would say it would be cool if people had their own or we could give them away but cheap thumb drives don’t do well in the printer. I would say that one thumb drive for every computer and printer combined would be good. 8 in this case.
More pictures! Better contacts! Several people with nice professional cameras came by to take pictures (at least 3 different people asked if they could) but I don’t know who any of them were or where they might publish the pictures.
The rest of SWMF
I never left the booth. Not even to go to the bathroom. At the end of the day my back hurt so bad I wasn’t even sure I had to go. (Side note: I need to take a few pounds off!) I have no idea how the rest of the event went. But I know it as a success just in the sheer number of people that wandered back to our little corner. Seriously, there were at least HUNDREDS of people that were by our booth throughout the day. It might have only been 30 prints but it was crowded the entire day.

Conclusion
You might think when you read about all the problems above I think our program was a mess. Quite the contrary! Overall I think the event and our program in particular was a huge success! But I always want to make it better if we can. We were nervous no one would show up especially since we were in the back corner (which was by design because it’s where the power was). We were nervous that the printers might fail. After printing hundreds of the brick and whistle rings we started to worry no one would even want them. I was nervous no one would use the 3D pens and my daughter would be disappointed. But in the end it really worked out well. If you attended and you are reading this feel free to reach out on twitter @tooshel if you have feedback . . and it would be really cool if you had a picture of your print! We didn’t take enough pictures! That’s another problem to add to the list! 🙂