You might remember the _o_ to o___o conversation from the last blog post. You don’t? Maybe you should work on your reading comprehension (or maybe I should be a better writer . . . there is plenty of blame to go around). ANYWAY, we had another install! At Jim’s house! And this was the first test of a 100% install of the new o___o clips. In the blog post I noted that I made them smaller, only 8mm tall, and that was so the 10mm clips could go across them. I ran a few tests on that 2×6 board from the last post and it worked great! But when we got to Jim’s house I noticed right away it was going to be more difficult and that was because his roof eves were far more slanted back toward the house than mine. And sure enough it was tough fitting the stapler or even the drill back there. It was SUPER frustrating trying to staple and it was especially frustrating when you were on a wobbly 15 foot ladder.
Jim rattled off a thousand ideas and MOST of them were terrible. But then he had the idea to just combine two of the clips and next thing you know he is trying to trademark the “JimClip”. Hours and hours hearing about the JimClip. But once he was doing that he was able to staple them way easier and with far fewer potty words (not ZERO bad words, just less). Trouble is he was going though them pretty quick and we were going to need even more! Thus I made a minor tweak to the design where instead of 8mm tall, I made them 12mm tall. And I took out the screw holes since that’s where they would break if the staple got too close. BOOM FIXED! Except that I also thought of one more change . . . .
Instead of the default printer settings I decided to change the number of perimeters.

You can see the effect of the change here:
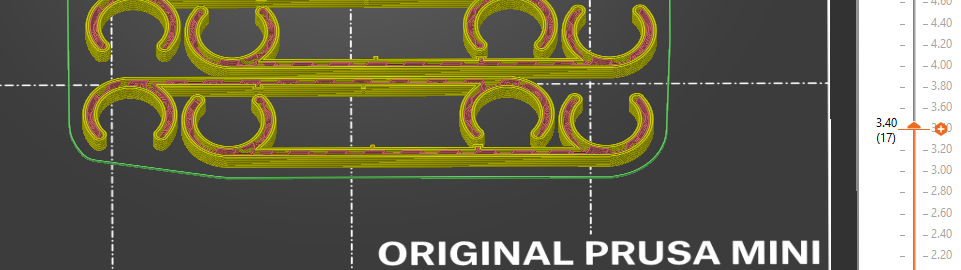
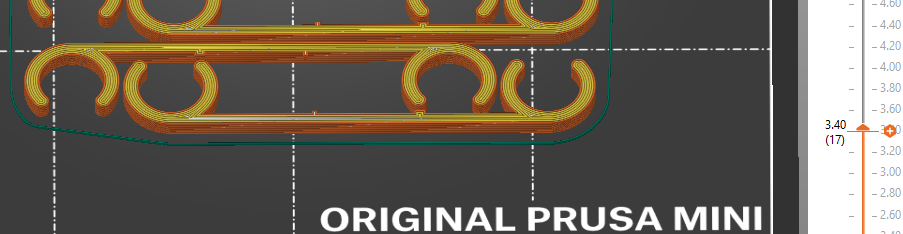
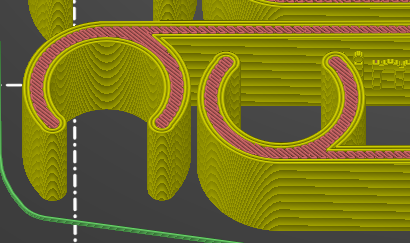
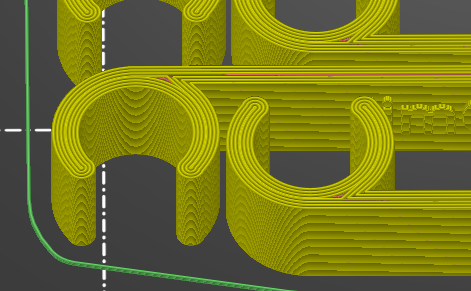
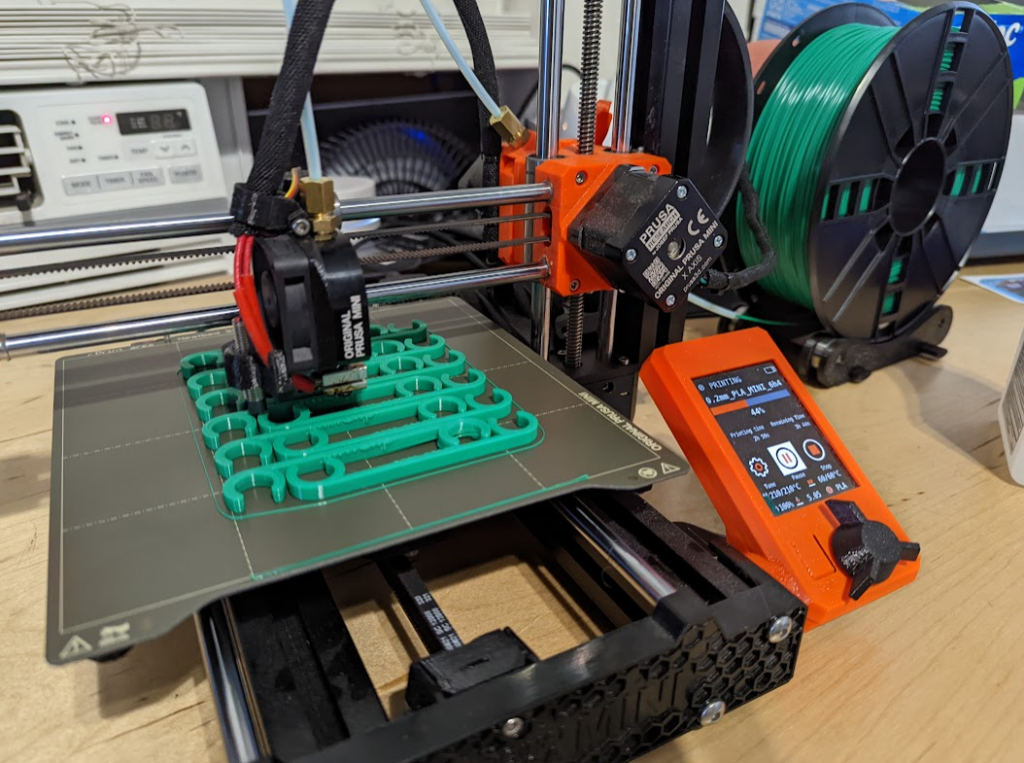
As you can see, in one case there is infil being used and in the other, it’s basically printed solid. So far the big advantage of that change is that the C is more difficult to break and the long center stands up well too. In my testing I could flex the hollow 2 perimeter print and break it easily (usually at the holes) but I wasn’t able to break the 4 perimeter version unless I went insane with it. I haven’t tried to staple it yet since I don’t have the stapler (left it with Jim) but I suspect they will staple just fine.
You can also see how different the top layer prints too! These are SO MUCH STRONGER.
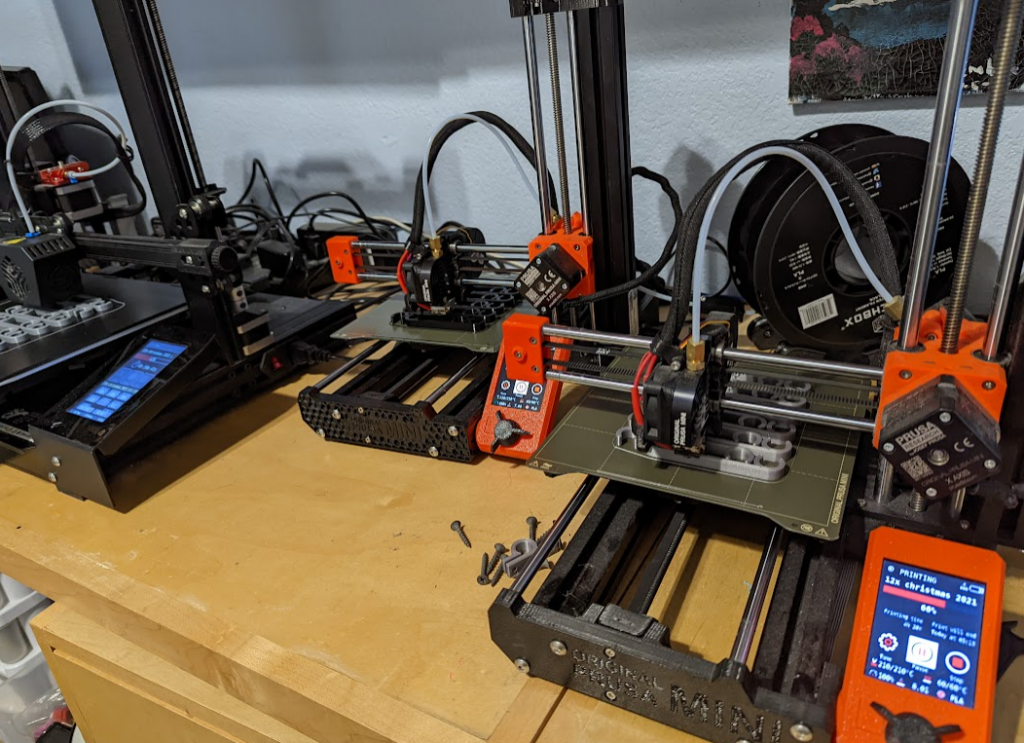
Of course, there is always a tradeoff. In this case, to print 12 the print time goes from 5 hours and 45 minutes to 6 hours and 42 minutes . . . about an hour longer. To compensate, I fixed another printer! Now we have 4 printers going!
I also put this . . .
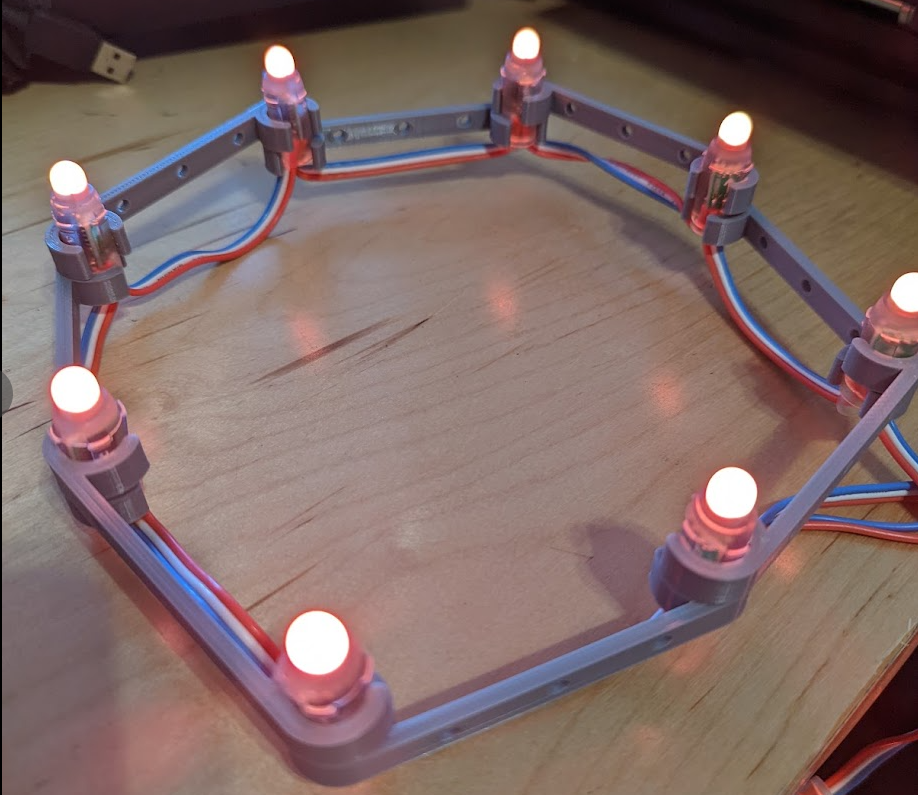
. . . idea to good use . . . check out the lighting in our front door window!
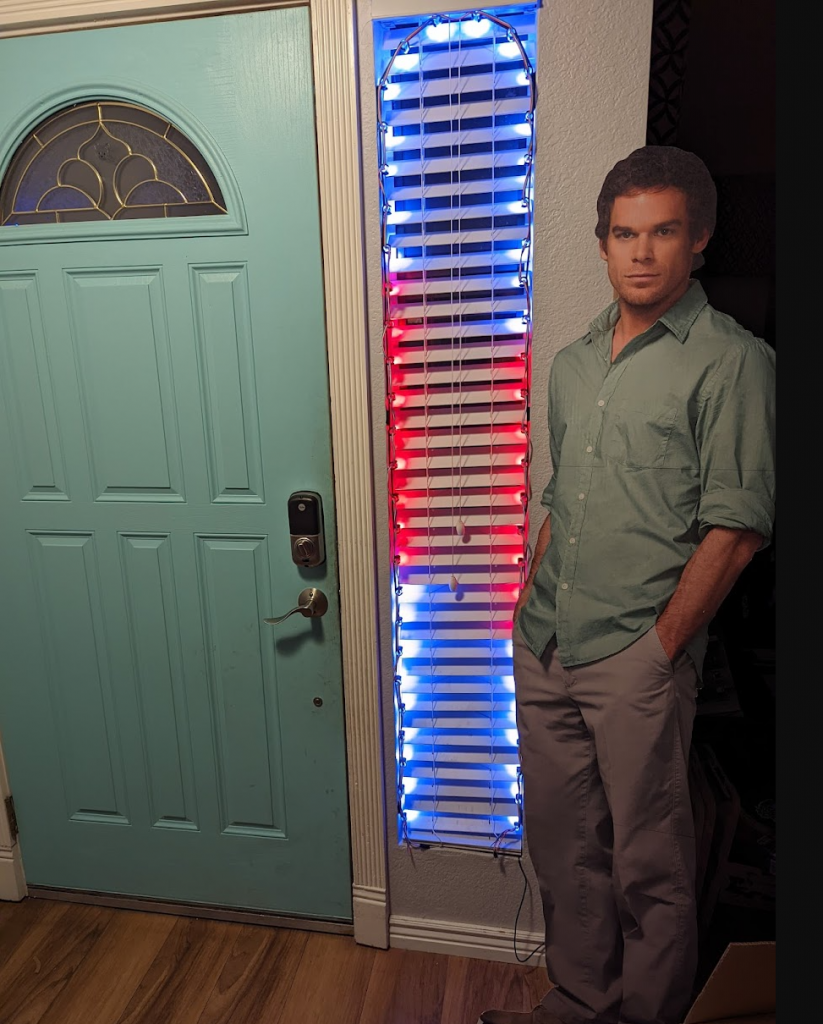
That was super easy to do and it’s attached with just a few tiny pieces of velcro (which acts as thicker double sided tape) in strategic places.