For the last several years Heatsync Labs has held an event called HAXMAS where card holding members keep the lab open for at least 48 hours straight. The idea here is that with the lab open the public has time to MAKE the best Christmas gifts ever! Luis is the organizer of the event and takes on more than his share of hours.
Last year we had so much fun! As soon as the volunteer list opened I as I asked my 10 year old daughter and she jumped at the chance! She even surveyed her friends to see if they would be crazy enough to stay overnight in downtown Mesa and of course no one would. So that made it even more reasonable in her mind! 🙂
Spoiler alert: We had a fantastic time and will do it again next year!
We had a few different projects planned.
- Individually addressable LED Graham Cracker house (our new tradition)
- Finally put an E3D Revo Mini in a Prusa Mini that keeps clogging
- Swap out dead battery from Razor Crazy Cart Shift with a battery from a drill
- Finish up some outstanding “monthly box projects” that we get from Crunch Labs or the 3D printer focused ones we get from Alien3D.
- Play Switch Sports! It’s been too long!
- Painting and jewelry and online design projects for Christmas gifts.
We brought ALOT of stuff to the lab. A Switch and a 50 inch TV. The crazy cart and the parts we needed to transform it. A bunch of Ridgid batteries and a charger. A bunch of Milwaukee 12 volt tools just in case! A box full of candy and other Graham Cracker decoration and creation stuff. Several bins with tools and strings and strings of LEDs. The Alien3D boxes. A broken 3D printer and the parts to fix it. Pillows and air mattresses and blankets to stay warm and take a nap. The wagon to carry some of it.
LED Graham Cracker house and Art projects
The one thing we DID NOT BRING was the half done LED Graham Cracker houses! We were already running late and didn’t have time to go back and get them. So cross that off the list!
Ems decided to work on designing decorations in Canva (using the iPad and iPen or whatever it’s called). She also painted and did some other crafts. She was so busy with that stuff and playing on the Switch that she stayed up all night and we even took the crazy cart over to Lost Dutchman and got breakfast and hot chocolate a bit past 7am.
Crazy Cart Drill Battery Replacement
When we arrived, there were several people there (the regulars!). I opened up the crazy cart to get to work and they couldn’t help but ask what was up. I showed them what I wanted to do with the battery from the drill. In true Heatsync fashion, they all jumped in with ideas and one of them figured it all out and even contributed the transistor we needed to make it work!
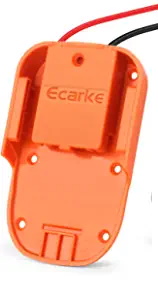
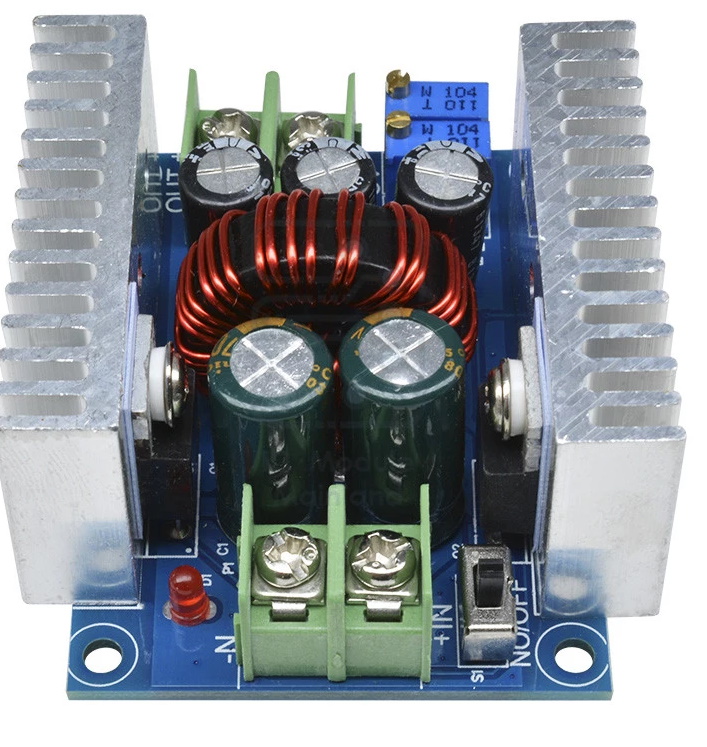
The first thing I noticed was that there were two 12 volt batteries wired in series so it was looking like my plan of adding an 18 volt battery using this adapter and dropping the voltage with this module was likely not going to work.
I tried the easy thing and just wired up the battery to the controller in place of the two dead 12 volt batteries and while it LOOKED and SOUNDED like it would work, alas, the controller was not sending the power to the motor. You could hear a clicking when you pressed the petal so it seems like the voltage was doing something but it wasn’t enough to engage the motor. Luckily, we were at Heatsync and David knew of an easy to hook up power supply where we could vary the voltage! So we connected that, set it to 24 volts, and boom, it worked! And it wasn’t even drawing that much power. Turns out the motor being used was really small compared to, say, an electric bike. We dropped the voltage to see when the controller would cut off power to the motor and it was around 19 volts. Damn! The easy route was dead.
We has SO MANY OPTIONS. Wire up 2 12 volt batteries from Milwaukee instead. Get a module to increase the voltage instead of decrease it. See if we could modify the controller (it was a simple looking board) to ignore it’s battery safety check since we didn’t need that. Wire in our own relay and replicate what the board was doing. And that’s just the beginning.
Luckily, Linwood was there and he had a brilliant idea . . . can we just use a simple high current transistor? Similar to what was already on the board?
The current control board did a few things. Charge the battery. Turn on the cart. Listen to feedback from the petal. The petal it turns out, was a bit more complicated. It had a simple switch like you might except but it also had a hall effect sensor that was sensing the magnetism of a bar magnet as it ran past the sensor as someone pressed the pedal further down. Luckily, it also had that simple switch. Now, instead of being able to vary the speed by varying the pressure on the pedal, you would instead have to pulse it on and off. Which is how most kids used it anyway!
Using some alligator clips (thanks again heatsync) we wired up the prototype. And it worked! We could turn on and off the motor with the pedal as long as we grounded the drain (which was common . . . it doesn’t take much voltage to activate the transistor). Hurray. We replaced the alligator clips with some wire nuts and set out to test how the transistor would fair under load. We knew it was fine with no resistance running for a few minutes but what if it was pushing around an 80 lbs kid?
Well, it went fine! Here is a picture of how it looked before the test with the old (on the top) and new parts (down below) in the picture.
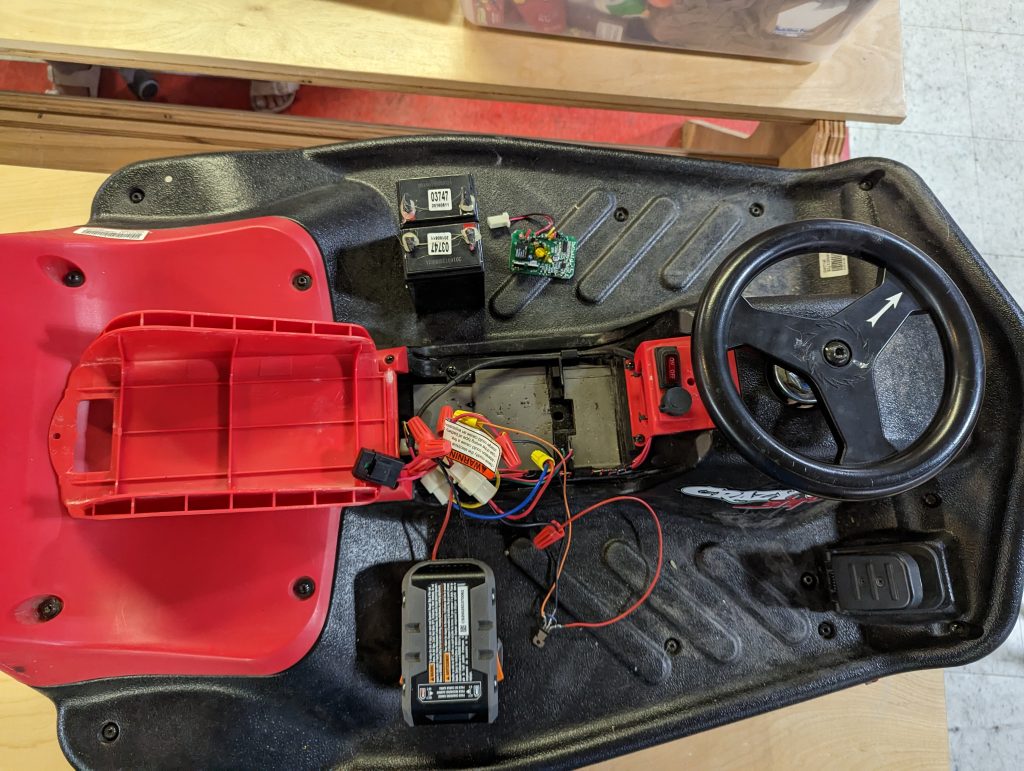
The transistor got warm but that was it . . . even after several minutes of running. Boom! Done! Thanks to Linwood for doing all the hard work and David and Nate for assisting! By then it was 10pm and I just spent some time soldering up the connections and replacing the wire nuts on all the connections except the battery.
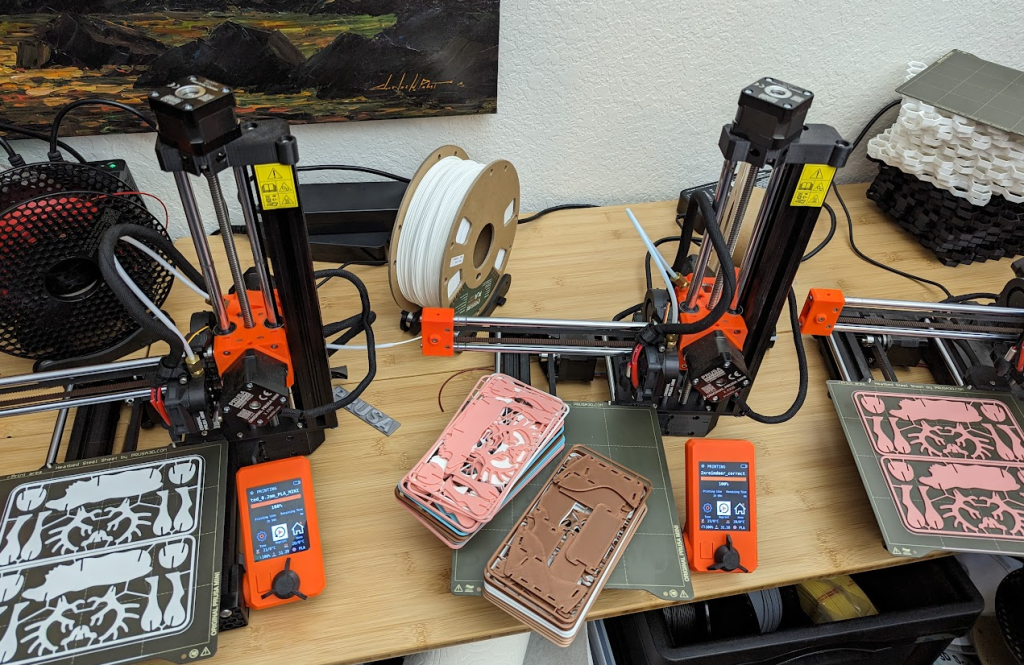
3D printer fix fail
Next up was the 3D printer! The task was to replace a hot end that kept clogging (and was old . . had about 30 days of print time, so 720 hours) with an E3D Revo Micro using this guide. I printed the part I needed so all that was left was to take it apart and do it. This one was a huge failure. It was later at night and I didn’t pay attention and was twisting the hot end when I was twisting it on the new part and ended up ruining the spring. Hopefully I can just buy or make a replacement spring. The good news is I had another one ready and was able to replace it a few days later and since I did all that reading at HAXMAS it was a simple process.
Switch Sports
It was nice having a TV in the lab. We could play Christmas music, take a break and watch Youtube. And of course play Switch Sports. Ems and I were pretty even and I think we stopped playing when we were tied! Luis played too though it might have been too early to really get into it since it was 6am when he showed up.
Piano from Alien3d
I got this project back in October as my first Alien3D box. I had already printed out all the parts but dreaded doing the soldering of the 12 tiny buttons. And then all those wires! Heatsync was the perfect location to get me past the hump since I had whatever I needed right there. Soldering station with all the wire cutters and flush cuts I could imagine. I powered though and here is the result!
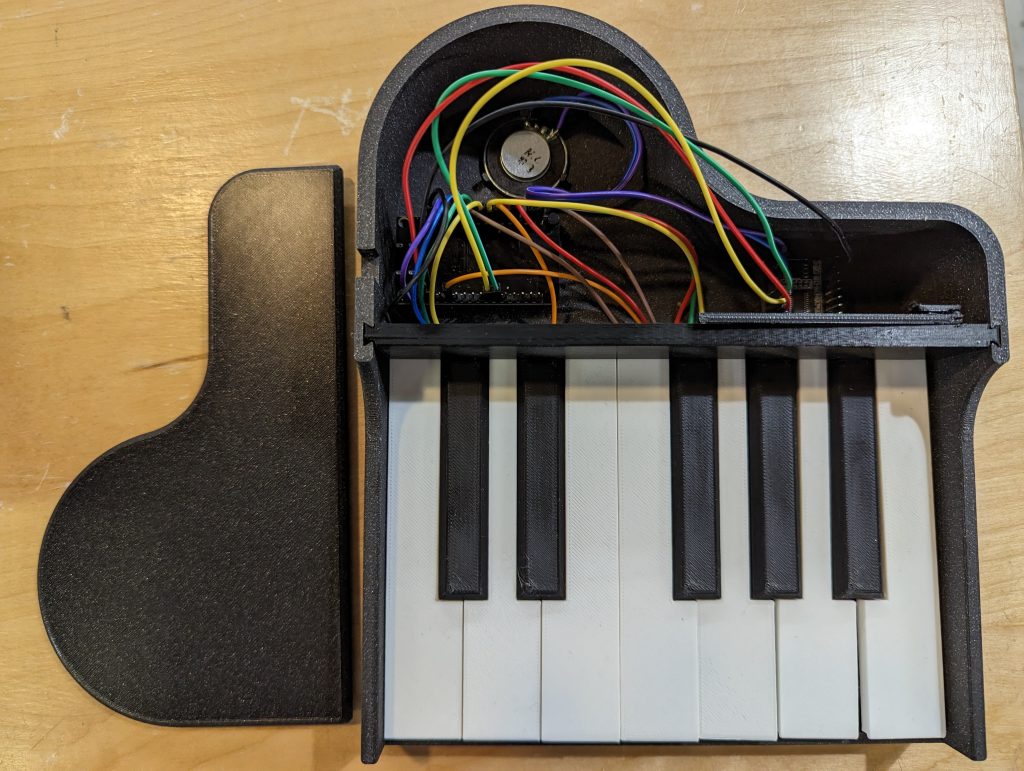
The piano and the print itself is cool. And it’s really cool that so little code can play these sound files off of an SD card. But it has a slow response and isn’t loud enough to be all that useful. Fun overall but a disappointing result. I think the M&M sorter from December will be way more fun!
Tours, Downtown Mesa, and the reindeer and sleigh
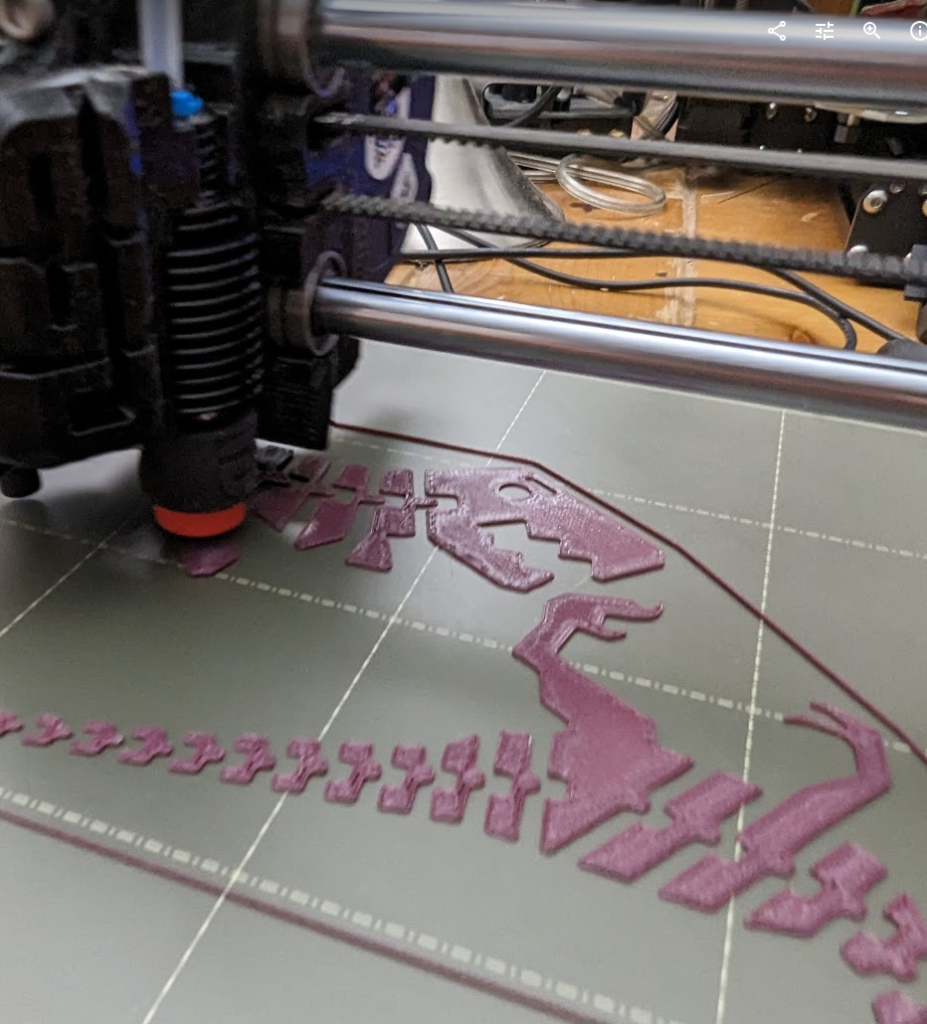
Several groups walked by and walked in. I welcomed at least 5 groups myself and I wasn’t he only one doing tours. Eric and Nate did some for sure too. Ems and I printed out over 25 reindeer and 10 sleighs to give away to people that showed up. We also brought in some flush cut so that people could “make something right there”. A few people did that and a few people just brought them home. Some people want you to sit there and show them step by step. I liked those prints because they are a bit of a challenge if you haven’t seen the final project . . . but that’s the point! Anyway, one thing we could have done better there is write up a sheet that explained it all . . . . not just to people that walked in but to other volunteers! Next time for sure.
One let down this year was there was nothing going on outside of Heatsync. Last year there were food vendors and little shops open around the Christmas tree and it was just cool to just walk around. This year there was nothing like that.
Conclusion
HAXMAS is super fun and I wish more people knew about it and showed up to make stuff. Of course, I’ve invested a ton of time in Heatsync and understand how it works, know people, and am able to be productive there. I thought at first it was “a privilege” but this is something I have earned by putting it the time and effort. I find it was worth it but I get how it can be intimidating to just anyone walking in. I do wish we could get more people to participate though. If you have ideas let me know!